Key Takeaways
- Low voltage is one of the most common hidden causes of cooling system failure, and running a unit below the minimum threshold can damage the compressor over time
- A rooftop cooling unit cannot defy physics — expect only a 15 to 20 degree drop from outside temperatures on the hottest summer days
- Dirty filters, clogged coils, and blocked return air paths cause the majority of weak airflow complaints and are the easiest issues to fix yourself
- Startup wattage draw can be significantly higher than running wattage, which matters when calculating generator or inverter capacity
- A systematic diagnostic approach — power, airflow, thermostat, then mechanical — saves time and prevents unnecessary parts replacement
- Preventive maintenance such as gasket inspection, coil cleaning, and capacitor testing extends the lifespan of rooftop units dramatically
- Knowing when to stop DIY work and call a certified technician protects both your safety and your warranty
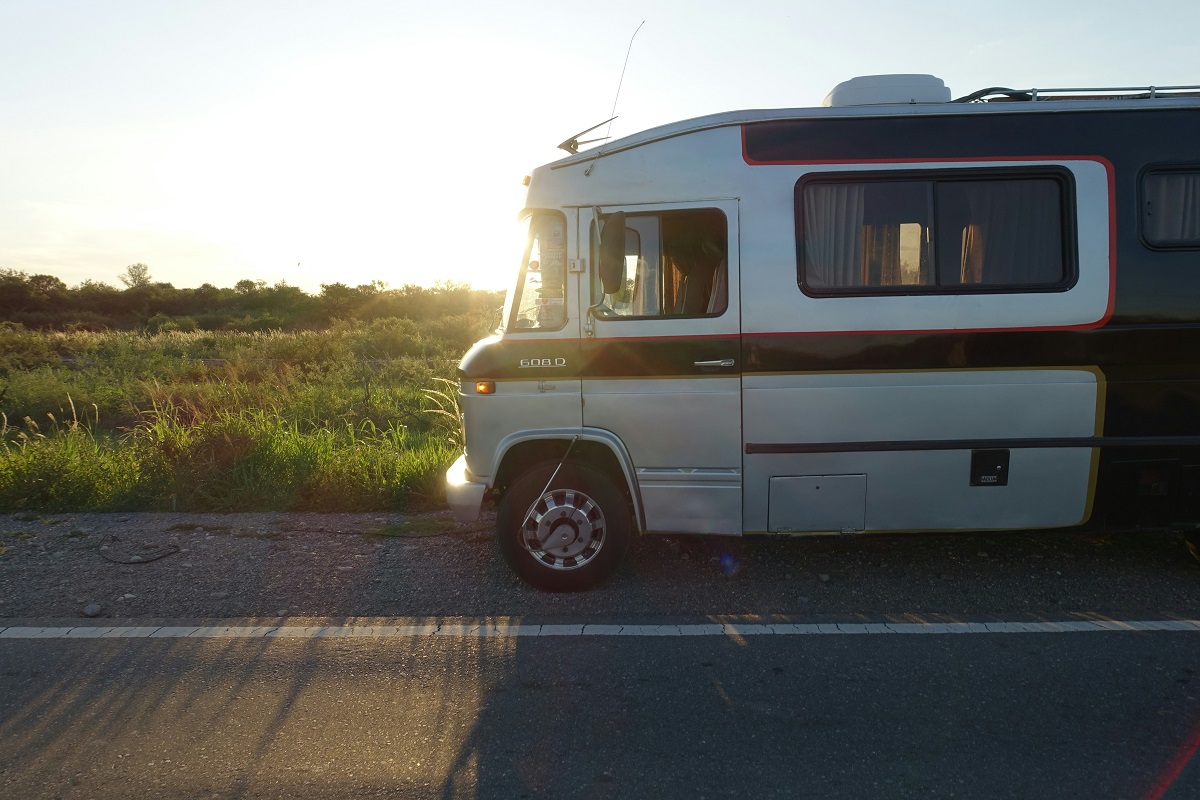
Your home air conditioner lives a quiet life. It sits on a concrete pad, sheltered from wind, and rarely sees temperatures above what its engineers planned for. A rooftop unit on a recreational vehicle lives a dramatically different existence. It bounces down highways at 70 miles per hour, bakes in direct sun with no shade, and gets jolted by every pothole between Oregon and Florida.
That constant vibration loosens electrical connections, cracks plastic housings, and shifts refrigerant lines in ways no residential unit ever experiences. Add in the fact that most rigs run their units on marginal power sources — sketchy campground pedestals, undersized generators, or long extension cords — and you have a recipe for premature failure.
Understanding this context matters because it reframes how you approach cooling problems. You are not dealing with a static appliance. You are dealing with a machine that has been shaken, cooked, and electrically abused for years, often with very little maintenance between trips.
What Really Happens When Your Unit Stops Cooling
Before you climb on the roof or start pulling panels, it helps to understand what your cooling system is actually doing. A rooftop air conditioner moves heat from inside the cabin to the outside air using a refrigerant that cycles between liquid and gas states. The compressor pressurizes the refrigerant, the condenser coil releases heat outside, and the evaporator coil absorbs heat from the cabin air.
When any one of these components falters, the entire cooling cycle degrades. But here is the thing most owners miss: a cooling unit also has physical limits. According to RV Travel, when outside temperatures climb into the 95 to 105 degree range, your unit may only cool the interior 15 to 20 degrees below ambient. That is not a malfunction. That is physics. If it is 100 degrees outside, expecting 72 degrees inside is simply unrealistic.
The Difference Between Weak Cooling and True Failure
Weak cooling usually points to airflow restrictions, low refrigerant charge, or dirty coils. True failure means the compressor is not running at all, or the fan motor has seized, or the thermostat is sending no signal. Diagnosing which category your problem falls into is the single most important step in any repair process. Confusing the two leads to wasted money and frustration.
How to Diagnose Power and Electrical Issues First
Electrical problems account for a surprising percentage of cooling complaints, and in my experience doing RV repair work, they are the single most overlooked culprit when owners assume they need an expensive new unit. Before you assume the compressor is dead, verify that the unit is receiving clean, adequate power. According to RV.com, an air conditioner compressor will not operate properly on voltage below 110 volts AC. Running it on 108 or 105 volts, which is common at crowded campgrounds in the evening when every rig on the loop is cranking their AC and microwaving dinner at the same time, can cause the compressor to overheat and eventually burn out. The damage is cumulative too, meaning you might run on low voltage for a week without noticing, then have the unit fail on an otherwise normal afternoon.
Grab a cheap multimeter or a plug-in voltage monitor. The little digital monitors that plug straight into an interior outlet cost under twenty dollars and give you a constant readout, which is far more useful than a single spot check. Check the reading at your pedestal before you even hook up, and then check again once your AC, converter, and any other heavy loads are running. Voltage sag under load tells you far more than a no-load reading ever will. If the voltage dips below 110 while your unit is running, shut it off. The repair bill for a fried compressor dwarfs the cost of a hardwired surge protector with low-voltage protection, which is why troubleshooting RV air conditioner problems almost always starts at the power pedestal rather than on the roof.
Here is a quick electrical diagnostic checklist to run before touching anything mechanical:
- Confirm shore power voltage reads between 110 and 125 volts AC under load
- Inspect the 15 or 20 amp breaker dedicated to the cooling unit, and reset it once to rule out a nuisance trip
- Test the capacitor with a multimeter if the fan hums but does not spin, as a weak or swollen capacitor is one of the most common and cheapest fixes
- Look for scorched or loose wire connections at the junction box on the roof, paying special attention to the terminal block where vibration tends to back screws out over time
- Verify the thermostat is receiving 12 volt DC control power, since a dead house battery or blown fuse on the thermostat circuit will mimic a failed air conditioner perfectly
- Check that any inline fuses on the control board are intact, and inspect the board itself for burn marks or bulging capacitors
Work through these steps in order and document what you find. If every electrical reading checks out and the unit still will not cool, you can move on to mechanical and refrigerant-side diagnostics with confidence that you are not chasing a phantom problem caused by bad shore power.
Understanding Airflow, Filters, and Coil Blockages
If your unit powers on but the cabin never gets cool, airflow is the next suspect. The return air filter — that flimsy plastic grille on your ceiling — is designed to catch dust, hair, and debris before it reaches the evaporator coil. When it clogs, airflow drops, the coil ices over, and cooling capacity plummets.
Pull that filter and look at it. If you can barely see light through it, it is choking your system. A full guide on troubleshooting rv air conditioner problems almost always starts here because it is the single most common cause of poor cooling performance. Wash the filter with warm soapy water, let it dry completely, and reinstall it. Do this monthly during heavy use.
Cleaning the Evaporator and Condenser Coils
The coils themselves need periodic attention too. Dust bunnies, cottonwood fluff, and dead bugs can pack into the fins and act as insulation, preventing heat transfer. Use a soft brush, a coil cleaner spray from any hardware store, and a gentle stream of water. Never use a pressure washer. The fins bend easily and cost real money to straighten.
Thermostat, Control Board, and Sensor Problems
Modern rigs increasingly use digital thermostats with multi-zone control, which introduces a new category of failure. A thermostat that misreads cabin temperature by even a few degrees can cause short-cycling, inconsistent cooling, or the unit refusing to start altogether. If your thermostat screen flickers, resets, or shows obviously wrong temperatures, it is often the cheapest component to replace in the entire system.
Control boards sit inside the ceiling assembly and manage communication between the thermostat and the rooftop unit. When they fail, the symptoms can be bizarre — fan running without cooling, cooling running without the fan, or the whole unit cycling on and off every thirty seconds. Owners who get comfortable with fixing a used RV often learn that control board issues mimic much more expensive mechanical problems, which is why systematic diagnosis matters so much.
Common thermostat and control symptoms to watch for include:
- Unit starts but shuts off within one to two minutes
- Fan runs continuously regardless of thermostat setting
- Temperature display differs significantly from a handheld thermometer reading
- Buttons require multiple presses to register
- Cooling mode activates but compressor never engages
Power Draw, Generators, and Boondocking Realities
If you boondock or run your cooling unit off a generator, understanding power draw is non-negotiable. According to Road Trippers, a rooftop unit can pull upwards of 2,400 watts on startup before settling to around 1,500 watts during normal operation. That surge is what trips undersized generators and crashes inverter systems.
A 2,000 watt generator that advertises surge capacity may or may not actually handle that spike, depending on its age, altitude, and fuel quality. Many boondockers invest in a soft-start capacitor, which reduces that initial inrush current by roughly 70 percent and allows smaller generators or battery banks to handle the load without stalling.
If you are running off an inverter and lithium battery bank, calculate the sustained draw carefully. A 1,500 watt continuous load will drain a 200 amp hour lithium setup in roughly two to three hours of hard cooling, assuming no solar input. Factor in inverter inefficiency, which typically eats another 10 to 15 percent of your available capacity.
Mechanical Failures That Require Professional Help
At some point, DIY diagnostics hit a wall. Sealed refrigerant systems are not user-serviceable, and attempting to recharge one without EPA certification is both illegal and dangerous. If your coils are clean, your filters are fresh, your voltage is solid, and your thermostat is behaving, but cooling is still weak, the problem likely lies inside the sealed system itself.
Signs that point to professional-level mechanical failure include:
- Hissing or gurgling sounds from the rooftop unit during operation
- Oily residue on or around the condenser coil, which indicates a refrigerant leak
- Compressor that hums loudly but never engages, even with a good capacitor
- Ice buildup on the copper lines despite clean filters and coils
- A burning smell coming from the ceiling assembly
A certified mobile RV repair technician has the recovery equipment, gauges, and refrigerant licensing to diagnose sealed-system problems safely. Attempting to crack open refrigerant lines yourself vents greenhouse gases into the atmosphere, voids any remaining warranty, and almost never results in a working unit.
Preventive Maintenance That Pays for Itself

The owners who get ten or fifteen years out of a rooftop unit all share one habit: they inspect and clean before every major trip. Spending thirty minutes on the roof in spring saves hundreds of dollars and ruined vacations in July.
A reasonable seasonal maintenance routine looks like this:
- Inspect the mounting gasket for cracks or compression damage that could allow water intrusion
- Tighten the four mounting bolts to manufacturer specification, usually hand-tight plus a quarter turn
- Clean both coils with a soft brush and approved coil cleaner
- Test the run and start capacitors with a multimeter while you have the shroud off
- Lubricate the fan motor bearings if your model has accessible grease points
- Check that the condensate drain pan and drain holes are clear of debris
Document what you find each season. A simple notebook entry helps you spot patterns, like a gasket that compresses a little more each year or a capacitor that is slowly drifting out of spec.
Final Thoughts
A rooftop cooling unit is one of the hardest-working appliances in your rig, and it rewards owners who understand how it actually functions. The vast majority of cooling complaints trace back to a short list of causes: low voltage, dirty filters, clogged coils, failing capacitors, or unrealistic expectations about what the unit can physically achieve on a hundred-degree day. Working through a logical diagnostic sequence — power first, then airflow, then controls, then mechanical — turns a frustrating guessing game into a solvable puzzle.
The owners who stay cool on the road are not the ones with the newest rigs or the most expensive equipment. They are the ones who inspect their gaskets in April, clean their filters every month, carry a multimeter, and know the difference between a problem they can fix in an afternoon and one that needs a certified technician. Build those habits now, before the next heat wave, and your cooling system will reward you with years of reliable service.
When something does go wrong on the road, resist the urge to throw parts at the problem. Slow down, work the checklist, and let the symptoms guide you to the actual cause. Your wallet, your weekend, and your traveling companions will all thank you.
About the Author