Purchasing a pre-owned recreational vehicle offers an exciting gateway to freedom on the open road without the steep price tag of a brand-new model. However, buying a pre-owned rig almost always comes with a punch list of necessary repairs, deferred maintenance, and custom upgrades. Bringing an older vehicle back to life requires patience, a methodical approach, and a solid understanding of both automotive systems and residential infrastructure. Whether you are dealing with minor cosmetic touch-ups or addressing deep-seated mechanical issues, taking hands-on control of your project ensures that your mobile home remains safe, comfortable, and roadworthy for years to come.
Embarking on a restoration journey requires balancing DIY enthusiasm with practical expertise. From inspecting structural integrity and diagnosing electrical faults to upgrading plumbing lines and tuning up the engine, every system requires careful attention. Understanding how these unique vehicles function as a hybrid between a motor vehicle and a residential property is the first step toward a successful fix-up. By taking a systematic approach to inspection and execution, you can save money, build valuable skills, and transform a weary rig into a reliable home on wheels.
Structural Integrity and Exterior Restoration
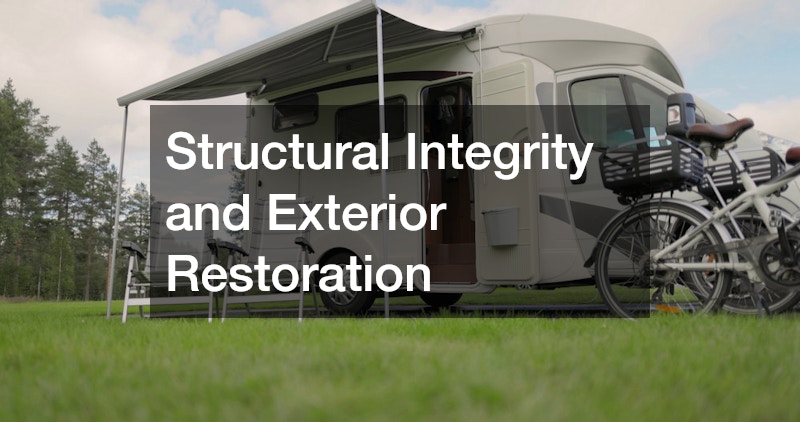
Before diving into complex internal systems, you must secure the structural integrity of the vehicle with RV maintenance. Water intrusion is the absolute worst enemy of any rig, leading to hidden rot, mold, and costly frame damage if left unchecked over extended periods.
Inspecting and Resealing Roof Seams
Start your inspection at the highest point of the vehicle. Examine the roof membranes, lap sealants, and seam tape around vent fans, skylights, and air conditioning units. Old sealant cracks, shrinks, and pulls away over time due to weather exposure and vehicle movement.
- Scrape away compromised, dried-out sealant using plastic scrapers to avoid puncturing the roof material.
- Clean the area thoroughly with denatured alcohol.
- Apply a high-grade, self-leveling lap sealant designed specifically for your roof type, whether rubber, fiberglass, or TPO.
Repairing Body Panels and Delamination
Delamination occurs when water gets between the outer fiberglass skin and the underlying plywood substrate, causing unsightly bubbles and structural weakness. Fixing minor delamination requires injecting specialized epoxy resin into the affected area, pressing the layers back together using flat wooden boards and heavy clamps, and allowing it to cure completely. For exterior metal panels, check for loose rivets, rust spots, or deep dents that could permit moisture to seep into the insulation layers beneath.
Servicing Slides and Hydraulic Jacks
Slide-out mechanisms and leveling jacks add comfort, but they rely on mechanical gears, cables, or hydraulic fluid systems that require routine care.
- Lubricate slide tracks and rubber window seals using dry silicone sprays that do not attract dirt and road grime.
- Inspect hydraulic lines for fluid leaks or cracking, and top off reservoirs with recommended fluid types.
- Ensure these heavy components operate smoothly to prevent frame binding and avoid the high costs associated with calling heavy towing services when a slide gets stuck at a campsite.
Electrical Systems and Power Management
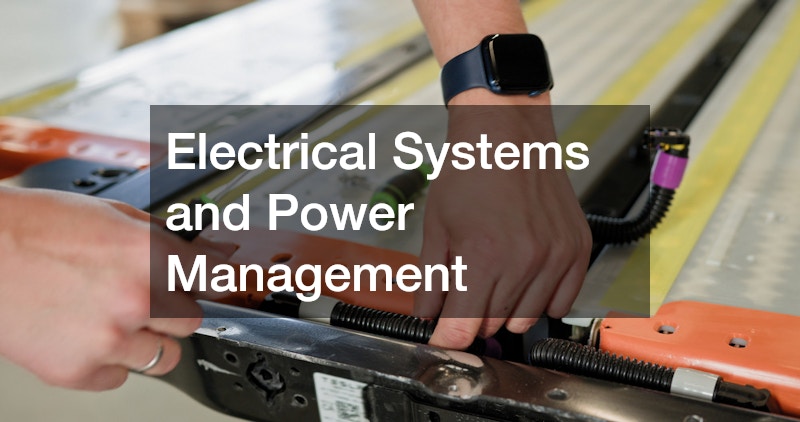
A recreational vehicle relies on two distinct electrical systems: a 12-volt direct current system powered by house batteries and a 120-volt alternating current system powered by shore power or a generator. Diagnosing electrical issues requires careful isolation of components.
Testing and Upgrading the Battery Bank
Deep-cycle house batteries lose their ability to hold a charge over time, especially if they have been fully discharged or left unmaintained during off-season storage. Use a digital multimeter to measure static voltage across the battery terminals after resting the system for several hours. If voltage reads below 12.2 volts on a lead-acid battery, it may need reconditioning or replacement. Upgrading to lithium iron phosphate batteries provides longer lifespans, lighter weight, and deeper discharge capabilities, though it requires a compatible converter-charger.
Troubleshooting the 120V AC Power Inverter
When plugged into shore power or running a generator, the converter-charger converts AC electricity into 12V DC power while charging the battery bank. Conversely, an inverter takes battery power and steps it up to run household appliances. Check for tripped circuit breakers, blown fuse panels, or loose wire terminal connections behind the main distribution panel. Faulty ground-fault circuit interrupter outlets often trip unexpectedly, cutting power to multiple downstream outlets along the circuit.
Generator Maintenance and Exhaust Safety
Onboard generators provide off-grid power but require regular mechanical maintenance to function reliably.
- Change the oil, oil filter, and spark plugs according to the manufacturer specifications, and replace clogged air filters.
- Run the generator under at least half load for an hour every month to prevent fuel varnish from clogging the carburetor jets.
- Always inspect the exhaust pipe for rust or loose clamps to ensure dangerous carbon monoxide gas vents safely away from living spaces.
Plumbing Systems and Water Leak Remediation
Water systems in mobile applications face constant vibration, freeze-thaw cycles, and high pressure. Restoring the plumbing requires a thorough review of fresh, gray, and black water components.
Sanitizing the Fresh Water Holding Tank
Over time, fresh water tanks and supply lines can harbor bacteria, algae, and stale odors. Drain the fresh water tank completely, then fill it with a solution of one-quarter cup of household bleach for every fifteen gallons of tank capacity. Run this solution through all hot and cold faucets until you smell bleach, let it sit in the lines for four to six hours, and then flush the entire system repeatedly with clean water until the chlorine scent is fully gone.
Replacing Brittle PEX Tubing and Fittings
Older rigs often feature flexible polybutylene pipes, which become extremely brittle and crack easily over time.
- Replace damaged lines with modern PEX piping and stainless-steel cinch clamps to create a durable, leak-resistant network.
- Inspect all plumbing connections under sinks, behind the water heater, and around the water pump for slow drips.
- Install a water pressure regulator at the city water inlet to prevent high-pressure municipal sources from bursting internal fittings.
Servicing Holding Tank Valves and Sensors
Drain valves for gray and black water tanks often stick, leak, or fail to close fully due to debris build-up on the rubber gate seals. Cleaning the valve track or replacing the gate valve assembly is a straightforward repair that prevents messy leaks during disposal. If tank level sensors read full continuously despite being emptied, clean the interior tank walls using specialized enzyme cleaners or tank wands to remove stubborn residue clinging to the probe contacts.
Mechanical and Drivetrain Overhauls
Motorized units share common automotive platforms with light or heavy commercial trucks. Ensuring the chassis, engine, and drivetrain are in peak condition is vital for safe highway travel.
Engine Tune-Ups and Fluid Flushing
An engine that has sat idle for months or years needs immediate fluid changes. Replace motor oil, transmission fluid, differential gear oil, and engine coolant to clear out moisture, suspended particles, and degraded additives. Replace fuel filters to prevent rust or sediment in the gas tank from reaching fuel injectors. If mechanical issues exceed your comfort level, bringing the engine to experienced rv mechanics ensures complex diagnostic codes and major engine repairs are handled accurately.
Brake System Inspection and Bearing Packing
Stopping a heavy vehicle places immense strain on brake pads, rotors, drums, and shoes. Inspect brake friction materials for uneven wear or heat cracking, and flush old brake fluid to eliminate moisture contamination. For towable units, pull the wheel hubs to clean, inspect, and repack the wheel bearings with high-temperature grease. Faulty bearings can overheat on the highway, causing wheel lockups or axle failure that leaves you stranded on the shoulder.
Suspension and Steering Linkage Refresh
Worn shock absorbers, leaf spring bushings, and steering ball joints cause severe sway, alignment issues, and driver fatigue on long trips.
- Inspect rubber bushings for dry rot and grease all chassis fittings using heavy-duty chassis lubricant.
- Upgrade sway bars, steering stabilizers, or helper springs to greatly improve driving stability.
- Keep access to heavy duty roadside assistance in mind to provide vital support if a major suspension failure occurs far from home.
Appliances and Climate Control Upgrades
A comfortable interior relies heavily on working appliances. Fixing older absorption refrigerators, water heaters, and rooftop air conditioners restores essential home comforts.
Absorption Refrigerator Troubleshooting
Absorption refrigerators operate without a compressor, using heat from an electric element or propane flame to circulate an ammonia-water cooling mixture. Ensure the vehicle is level when operating the fridge, as running an unlevel unit causes chemical crystallization that permanently blocks cooling coils. Clean the exterior burner orifice using compressed air, check the thermal fuse for continuity, and clear soot from the flue pipe to maintain strong cooling performance on hot summer days.
Servicing the Tankless or Storage Water Heater
Propane water heaters require clean burner tubes and functional igniters to produce hot water efficiently. Remove rust and insect nests from the burner tube using a flexible wire brush. For traditional tank-style water heaters, unscrew and inspect the sacrificial anode rod annually; replace it when the core wire becomes exposed to prevent inner tank corrosion. Flush mineral deposits from the bottom of the tank using a wand attachment connected to a garden hose.
Air Conditioner Cleaning and Thermostat Repair
Rooftop air conditioners accumulate dust, leaves, and debris on their condenser and evaporator coils, reducing airflow and cooling efficiency.
- Remove the plastic exterior shroud and spray the coils with a non-rinse coil cleaner.
- Straighten any delicate aluminum cooling fins that have become bent over time.
- Inspect fan motor bearings, replace worn blower belts if applicable, and test the digital wall thermostat for accurate temperature sensing.
Interior Renovations and Custom Upgrades
Once mechanical and structural systems are stable, interior renovations turn a functional vehicle into a personalized sanctuary. Focus on weight management and durable materials designed to withstand movement.
Cabinet Refinishing and Weight Considerations
Factory cabinetry in older models often features heavy particleboard covered in vinyl wrap. Painting cabinetry lightens up the space, but requires proper preparation, including sanding down slick finishes and using high-adhesion bonding primers. When replacing cabinets or building custom shelving, prioritize lightweight materials such as Baltic birch plywood to keep the vehicle under its Gross Vehicle Weight Rating (GVWR). Excessive interior weight accelerates tire wear and compromises braking safety.
Flooring Replacement and Moisture Barriers
Old carpet holds dirt, moisture, and odors, making vinyl plank or sheet flooring a popular replacement choice.
- Remove old floor coverings and inspect the plywood subfloor for soft spots or water damage.
- Lay down a quality underlayment to absorb road vibration and provide a thermal break.
- Choose waterproof click-lock vinyl planks or marine-grade sheet vinyl, leaving small expansion gaps around edges for temperature fluctuations.
Upgrading Lighting to Energy-Efficient LEDs
Incandescent interior bulbs generate excess heat and draw significant battery current, quickly depleting power during boondocking trips. Replacing old bulbs with warm-white LED fixtures reduces lighting power consumption by up to eighty percent while generating minimal heat. Ensure new fixtures are rated for 12V DC operation and include voltage regulators to handle voltage spikes from solar charge controllers or battery chargers.
Storage, Transport, and Sourcing Options
Finding parts, securing professional help, and storing your rig during off-season months require smart planning and logistical foresight.
Finding Quality Parts and Expert Assistance
Sourcing obsolete parts for older models often requires searching specialized supply networks or salvage yards. When complex repairs exceed your tool set or personal skill level, taking your rig to specialized rv repair services ensures that structural welds, gas line pressure tests, and heavy axle alignments are completed to industry safety standards. Professionals also carry specialized equipment to test complex electronics quickly.
Storage, Sales, and Dealership Logistics
Protecting your vehicle from harsh winter weather, severe sun, and tree sap prolongs the life of roof sealants and exterior paint. Parking your rig at a dedicated rv storage facility offers secure, covered options that guard against weather damage and pest infestations.
- If your restoration project uncovers irreversible structural rot, research rvs for sale to evaluate baseline market values before investing further capital.
- Visiting local rv dealers allows you to source hard-to-find OEM hardware, specialized plumbing fittings, and factory sealants while inspecting various floor plans.
Choosing Locations for Testing and Travel
After completing major system overhauls, test your work on a short weekend trip close to home before setting out on a long cross-country journey.
- Reserving a spot at well-maintained rv parks gives you access to full hookups to test electrical circuits, plumbing lines, and air conditioning units under real-world conditions.
- Planning a stay at luxury rv resorts allows you to showcase your fully restored vehicle while enjoying premium amenities like paved level pads and high-voltage electrical hookups.
Essential Maintenance Schedule Checklist
Maintaining a pre-owned vehicle requires continuous attention even after the initial restoration is complete. Staying ahead of potential problems prevents unexpected breakdowns and preserves resale value.
- Monthly Checks: Inspect tire pressure and tread depth; test smoke, carbon monoxide, and LP gas detectors; check engine oil, transmission, and power steering fluid levels.
- Quarterly Checks: Visually inspect all roof seams, windows, and body sealants for cracks; clean air conditioner filters; run the onboard generator under load for 60 minutes.
- Annual Tasks: Drain and sanitize the fresh water system; replace the water heater sacrificial anode rod; inspect and repack wheel bearings on towable units.
Fixing up a pre-owned recreational vehicle is a deeply rewarding project that combines mechanical skill, carpentry, and creative design. By tackling repairs systematically—starting with the roof and structure before moving on to electrical, plumbing, mechanical, and interior systems—you can transform a tired rig into a safe, comfortable, and reliable mobile getaway. With proper ongoing care, thorough inspections, and a commitment to quality maintenance, your restored vehicle will provide countless memorable adventures on the open road.
About the Author